
Vacuum sealing foods for freezer storage is a big deal in our home. We buy bulk quality meats at a discount at places like Costco, sealing steaks into individual bags, then thaw as needed. We use our FoodSaver every week or two, but liquids can be a hassle since the FoodSaver is an external, not a chamber, vacuum sealer. There’s a big difference, particularly when dealing with liquids.
Here’s a quick hack to use your external vacuum sealer to store and freeze liquids WITHOUT EXPENSIVE HARDWARE OR ACCESSORIES.
Background: Vacuum sealing liquids is wildly different than sealing dry-ish good like meats, cheese, fruits, vegetables. Sealers like FoodSaver are called “external” vacuum sealers. They remove the air from within the storage bag through the open end. A “Chamber” vacuum sealer removes air from the entire canister that contains the bag and contents, allowing you to cleanly seal liquids like soups, stocks and sauces. Unfortunately, chamber vacuum sealers are much more expensive than externals. If you have an external vacuum sealer, liquids can be a real pain.
Step 1: Party Cups to the Rescue!
You’ve used disposable party cups, enjoying adult beverages at social gatherings for years. They’re painfully inexpensive (as low as $0.06/ea. or less) via Amazon or Costco.
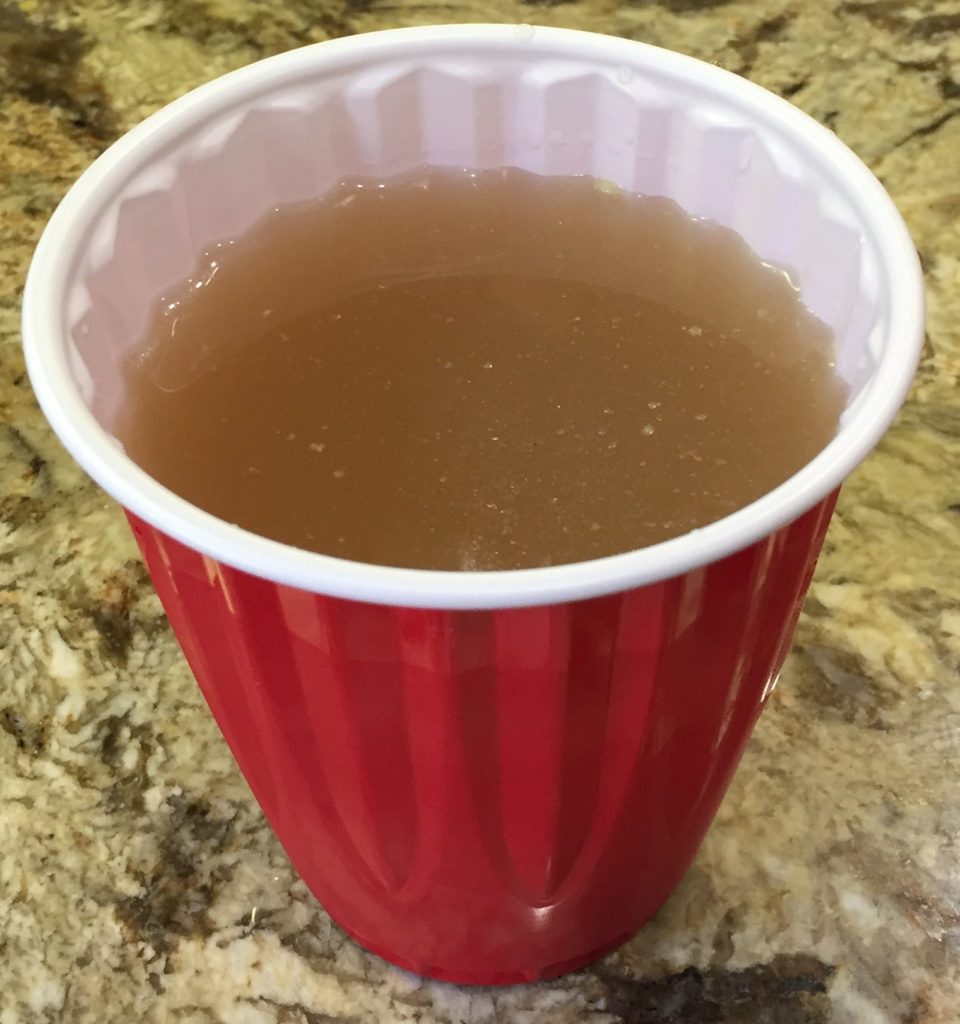
Instead of using expensive freezer containers, vacuum tubes or cup/lid combinations, pour your COOLED liquids or sauces into 16oz party cups and place them in the freezer! In 12-24 hours, you’ll have a solid block ready for long term storage after vacuum sealing.
Leave 1/2″ or so from the top of the cup to allow for expansion as the liquid freezes.
Step 2: Peel the Cup, Vacuum Seal the Solid Contents
Make two cuts into the top of the party cup – about an inch or two apart – and carefully peel away the section of plastic. This will allow you to place the frozen block into an 8-9″ vacuum seal bag. Vacuum, seal. Done!
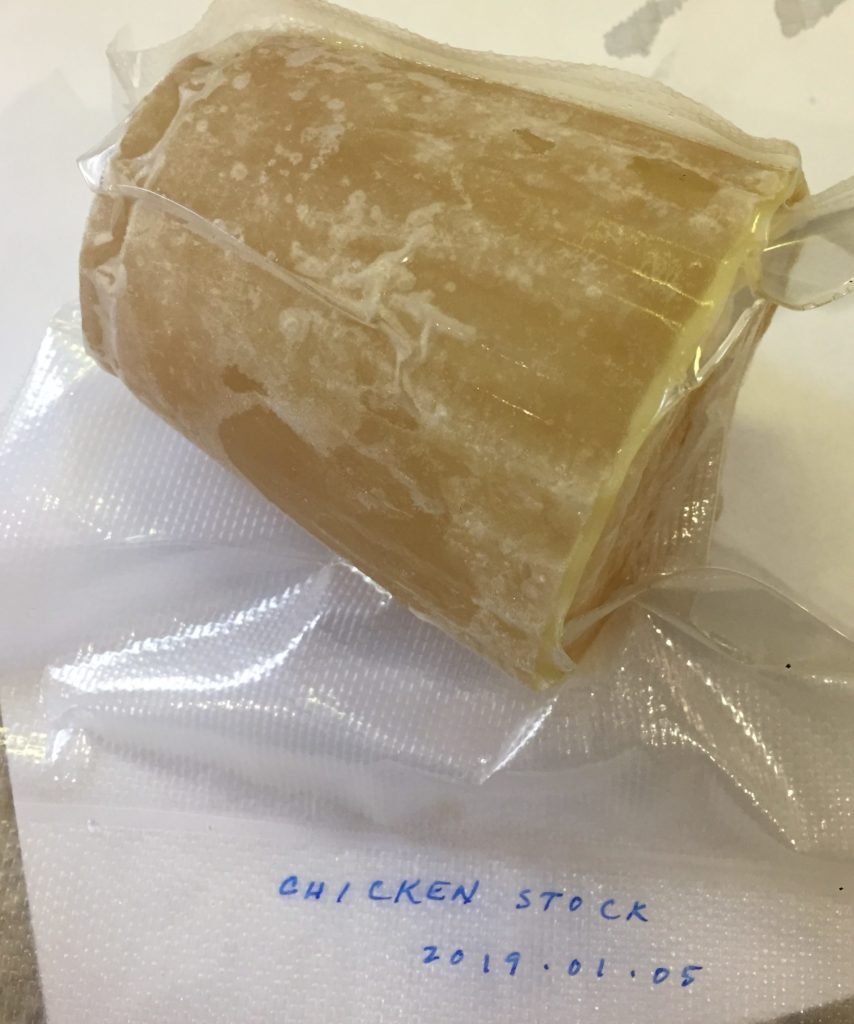
Label the bag with a permanent marker with the name of the contents and the date you sealed it. Your best bet is to store for up to six months, provided it remains frozen the entire time.
Optional Step 3: Thaw and Shape

Stacking 16oz party cup molds of frozen liquids in vacuum sealed bags is a bit of a Tetris nightmare when it comes to storing in the freezer… at least for me.
I chose to thaw the bags back to liquid and then place flat into a storage container where they could be re-frozen into a more efficiently storage shape. Hey, I only have so much room in my freezer and I need to make the most out of it.
Now I can stack these flat or on their side, making the most out of every inch of freezer storage space!
One Reply to “Part 4/4: Vacuum Seal Liquids with a Food Saver”